Using traaittEnterprise XTE Wallet
traaitt XT Enterprise is a cross-platform GUI wallet that is written using JavaScript and the Electron framework together with React. The UI was inspired by Electrum's Bitcoin client. It's simple, easy to use, and utilizes the latest in backend technologies from the development team.
Downloading
The installers can be found here. Download the appropriate file for your computer. The files are located under the "Assets" tag, just scroll down to the bottom of the latest release.
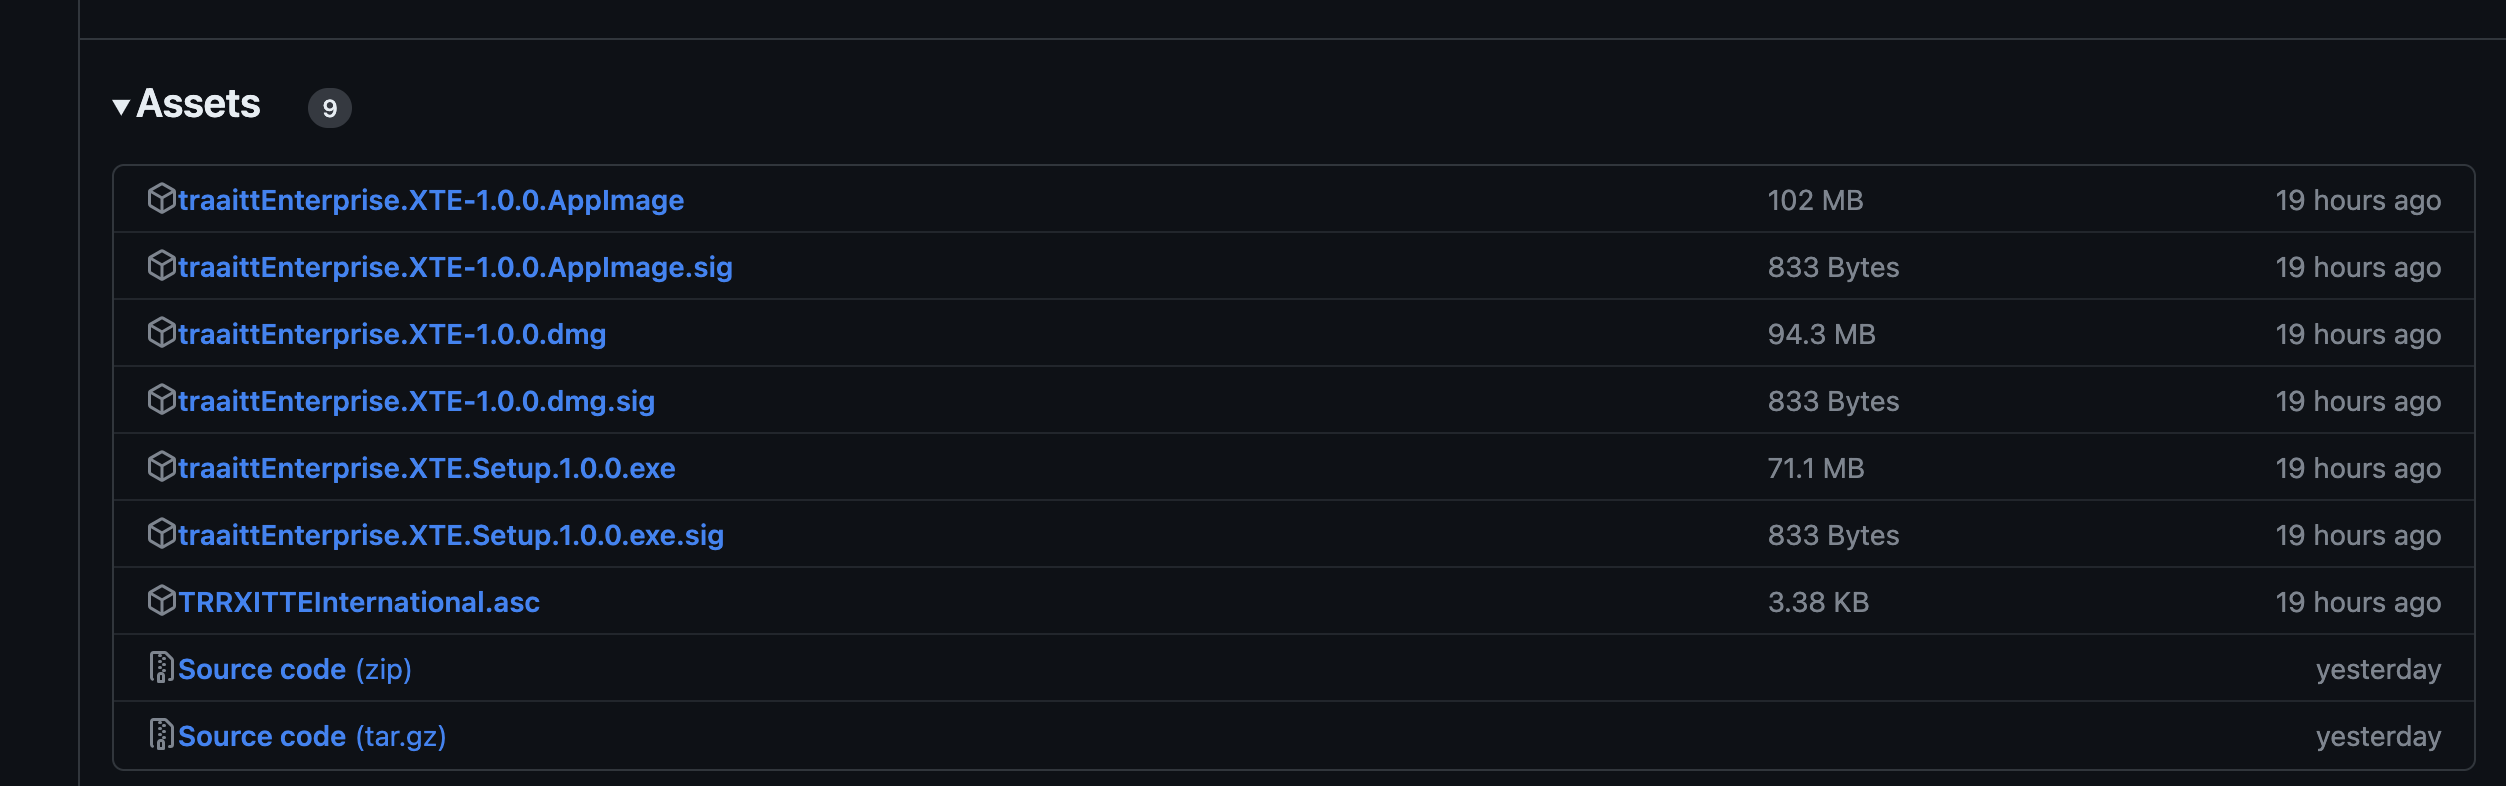
Just in case you're not sure what to download, here is a list of the files and what operating systems they go to:
- *Windows- -
.exefile - *Mac- -
.dmgfile - *Linux- -
.AppImagefile
Installing
Installing on Windows
After downloading the .exe file, navigate to the folder you downloaded it to and double-click it. You'll be greeted with a scary-looking screen from Windows saying it protected your PC by blocking an uncregonized app:
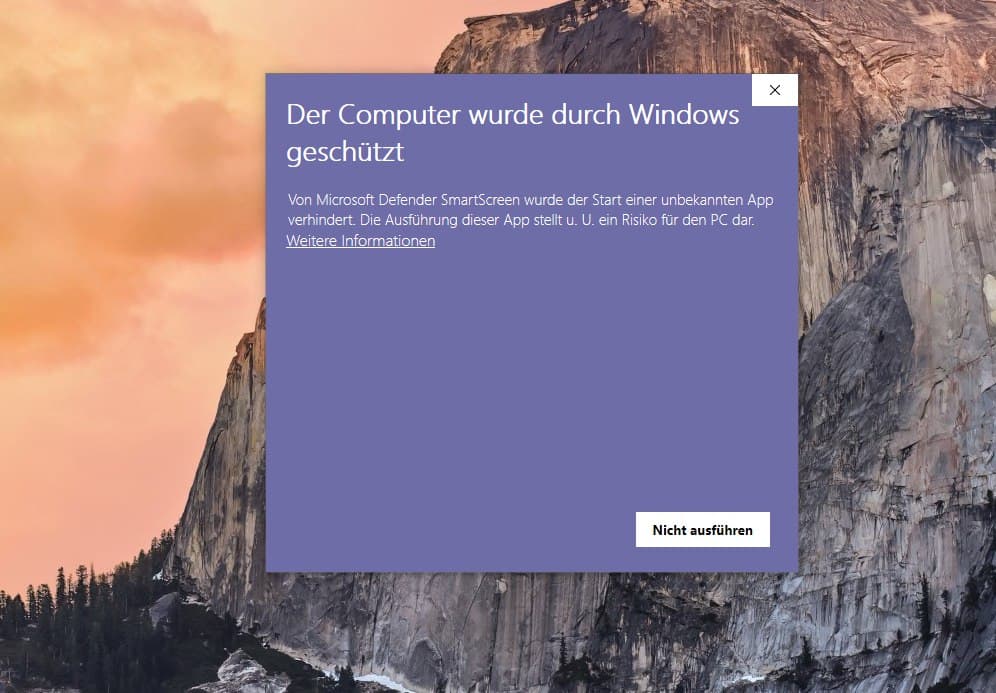
Click more info and then click run. After this, you'll be able to install the program normally.
Why do we have to do this anyway? Is it safe?
I assure you that this wallet is perfectly safe to use. The code is all published open source under the MIT license and visible for anyone to examine. If you have any doubts, please ask the community for guidance.
Windows is a proprietary operating system and they restrict programs running on their operating system to trusted developers. You need a valid windows signing key in order to sign windows applications as a trusted developer, which will be implemented soon.
Windows easily allows installing so this should not be a problem.
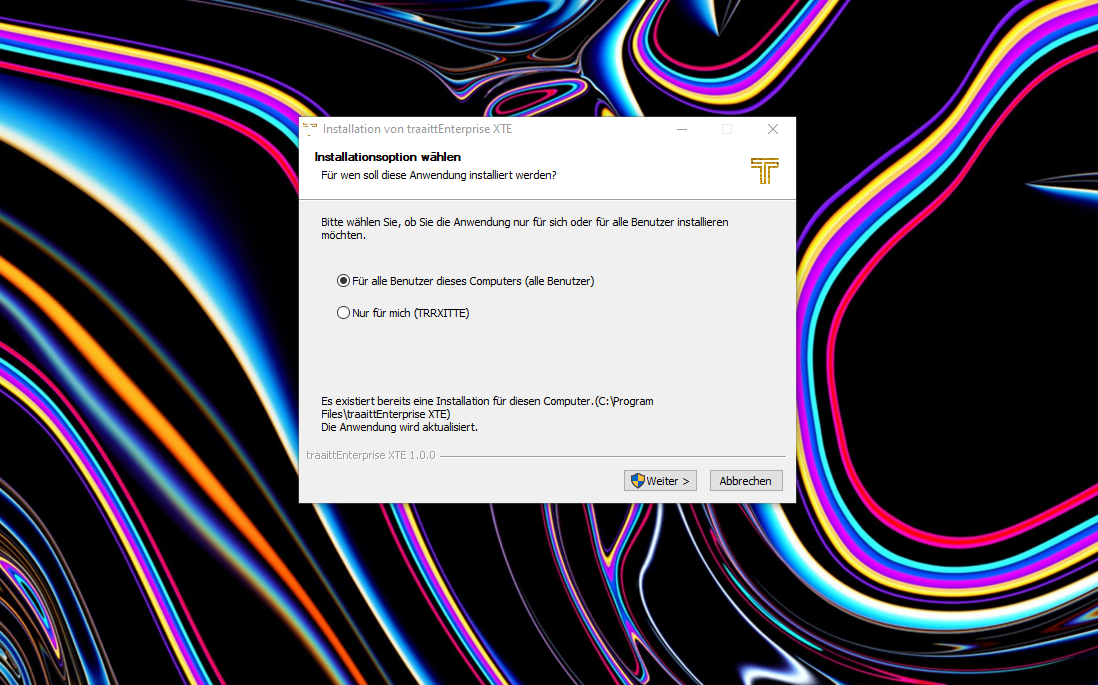
Once you've made it past the nag screen and onto the installer screen, select your choices the installer asks for and install the program. Once it is completed installing, you can launch it by double-clicking the icon on your desktop or navigating to Enterpise Wallet in the start menu and clicking it. The first step of the installer screen is pictured below:
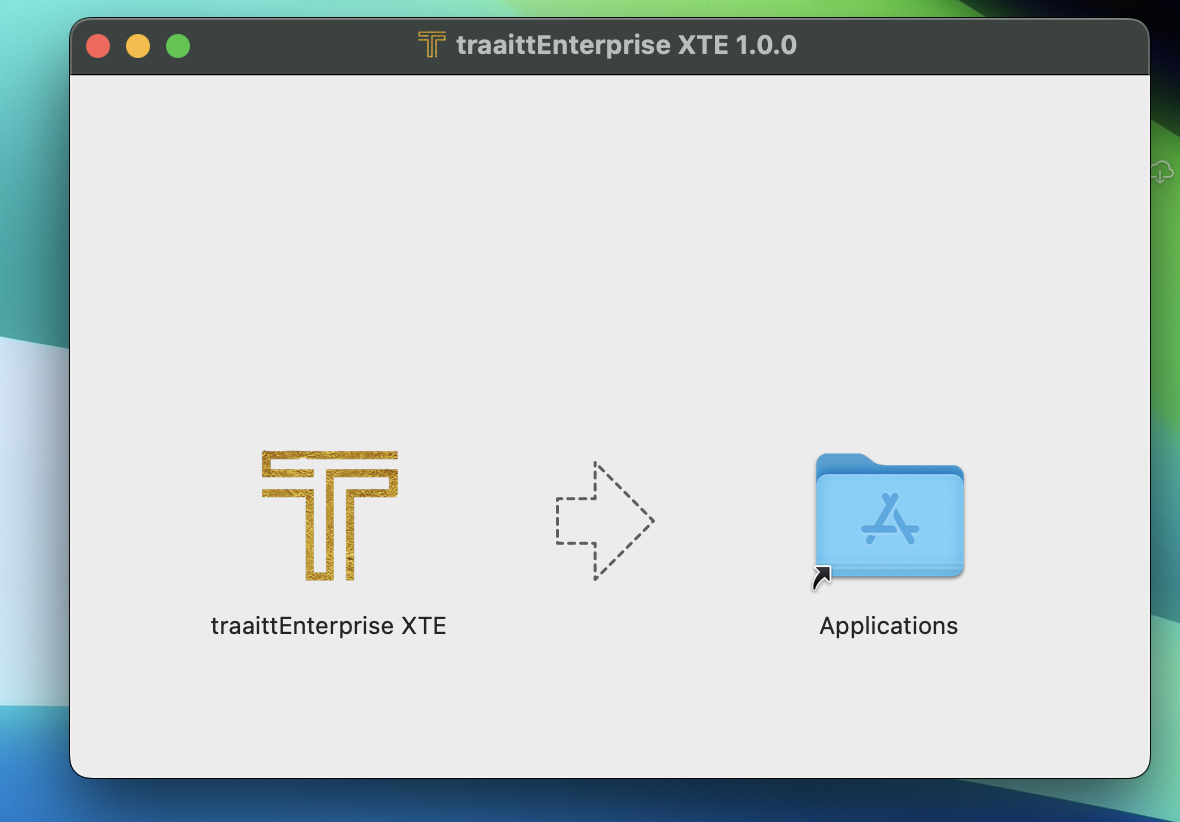
Installing on Mac
Double click the .dmg file, and the installer prompt will appear. Simply drag the Wallet icon on the left into the "Applications" directory on the right in order to install it.
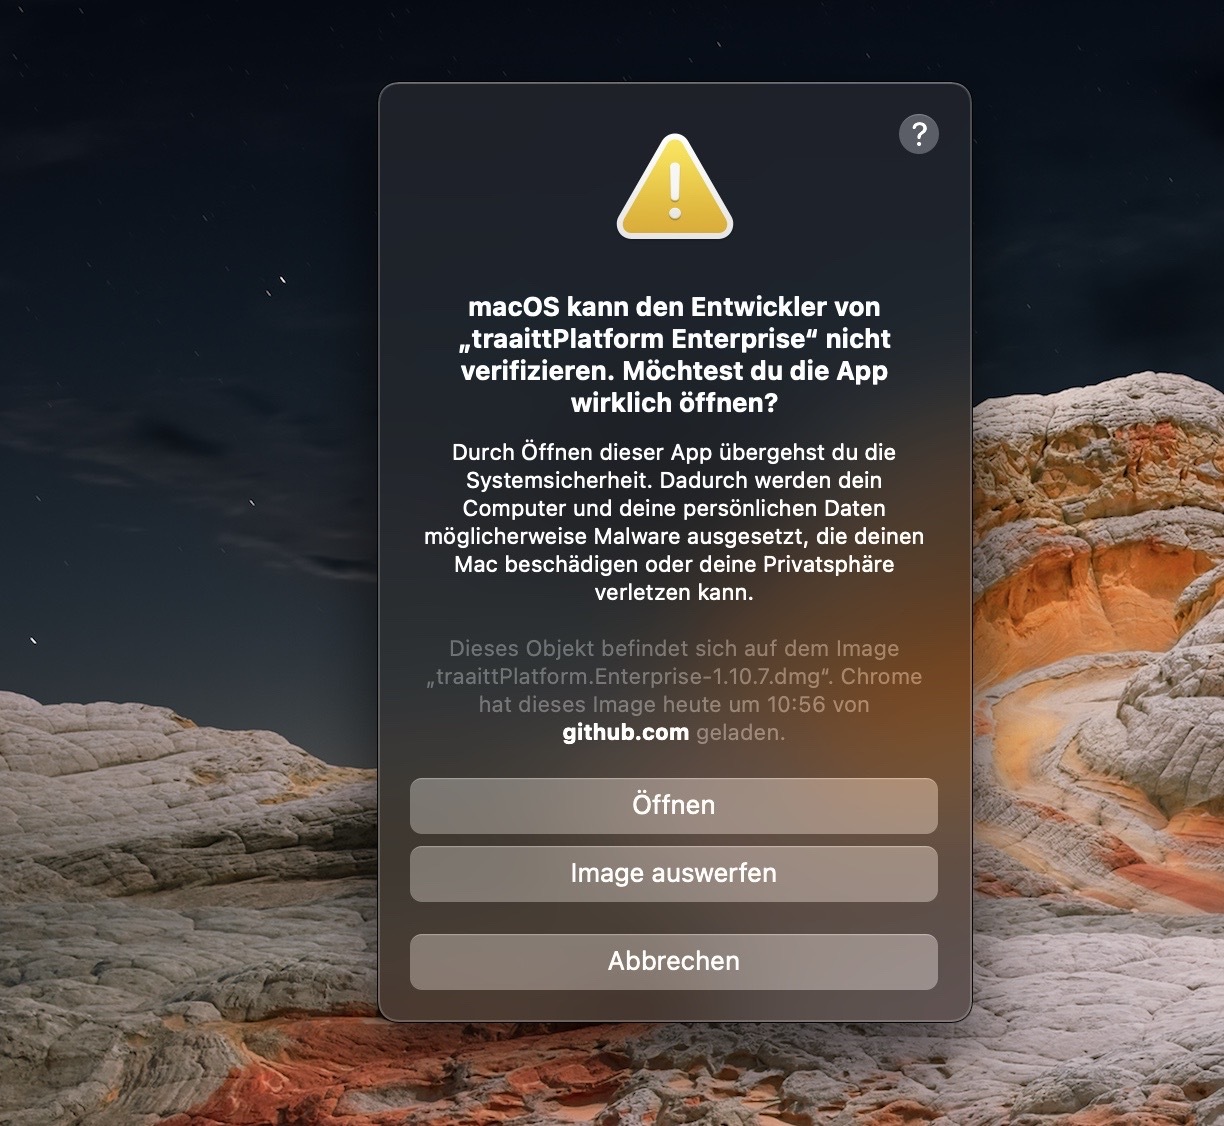
Important: Try to run the program at this point. (You can do so by right clicking while holding 'control ^' and then open. Unfortunately, you'll get a nasty error message from MacOS, which we'll take care of in the next step.
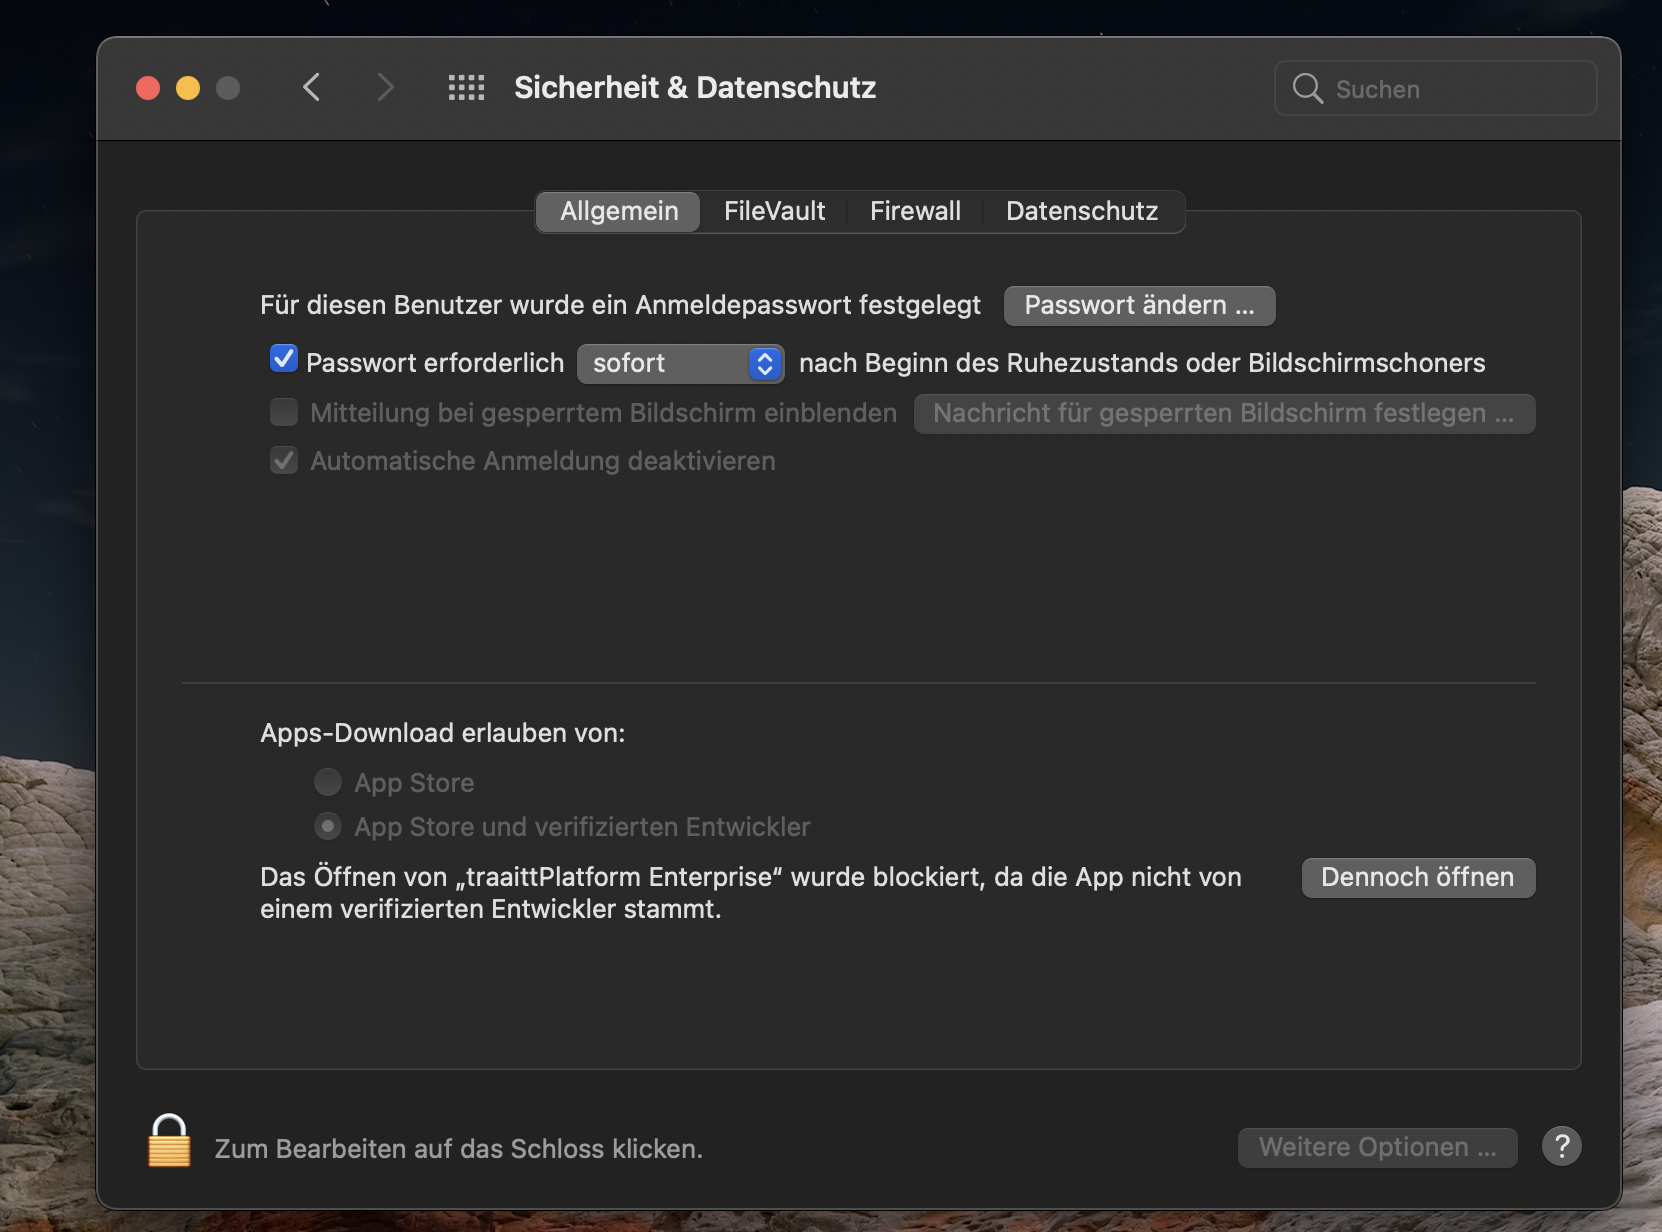
If it is not working you need to complete one more step in order to run the program, navigate to System Preferences, and click Security & Privacy. You'll see a message near the bottom that traaittPlatform Enterprise was blocked because it is not from an identified developer, with a button next to it that says Open Anyway. Click that button.
After this, you can run the program as normal by double clicking on the icon on the dock. (Unfortunately, you will have to do this every time the application updates as well)
Why do we have to do this anyway? Is it safe?
I assure you that this wallet is perfectly safe to use. The code is all published open source under the MIT license and visible for anyone to examine. If you have any doubts, please ask the community for guidance.
MacOS is a proprietary operating system and they restrict what programs can run on their OS to only developers with a valid Apple Developer key. Unless the program is signed with a valid Apple Developer key, you will have to override it like this in order to run it. We're currently looking into making this happen
Installing on Linux
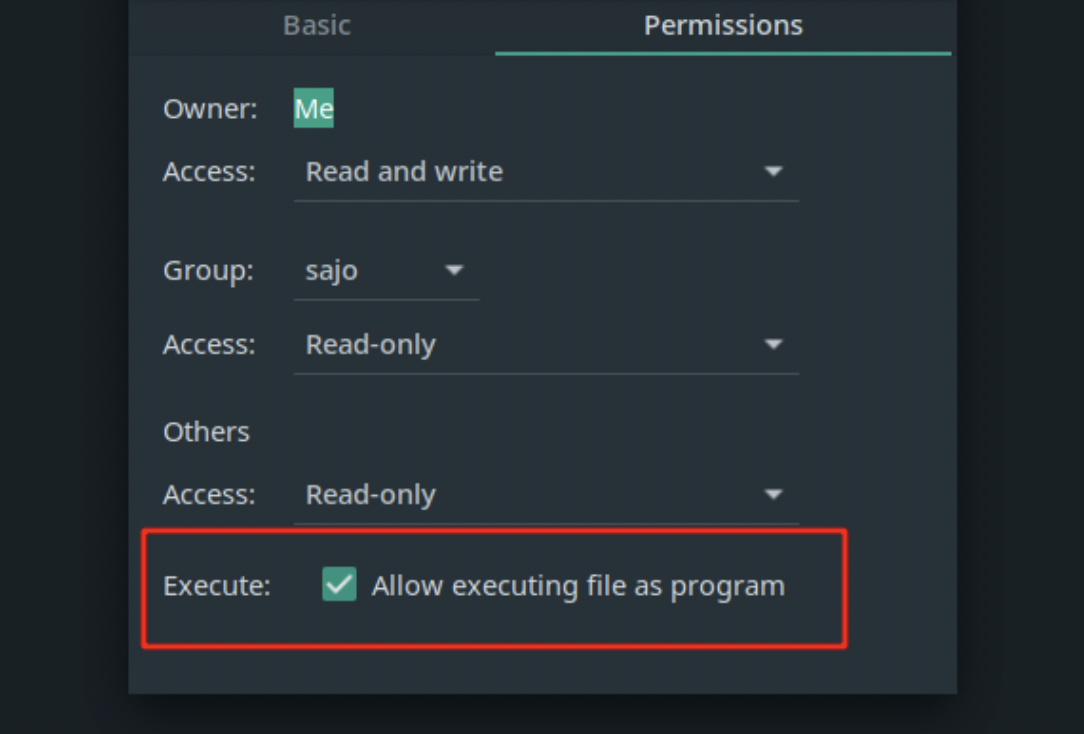
After downloading the AppImage file, you'll need to mark it as an executable so that your system can run it. You can do it in either of these two methods:
Using the GUI
- Right click the file
- Click on
Properties. - Click on
Permissions. - Tick the box next to
Allow executing file as program.
Using the Command Line
- Open a terminal in the directory the appimage file is stored in.
- Input this command:
chmod +x traaittPlatform.Enterprise-1.10.7.AppImage(this will allow file to run as a program, which is required)
After completing one of the two above steps, you can launch the wallet simply by double clicking the AppImage file. I recommend moving the AppImage file into a dedicated folder inside your home directory for AppImages. A good location would be /home/your_username/Apps
Using traaittEnterprise XTE
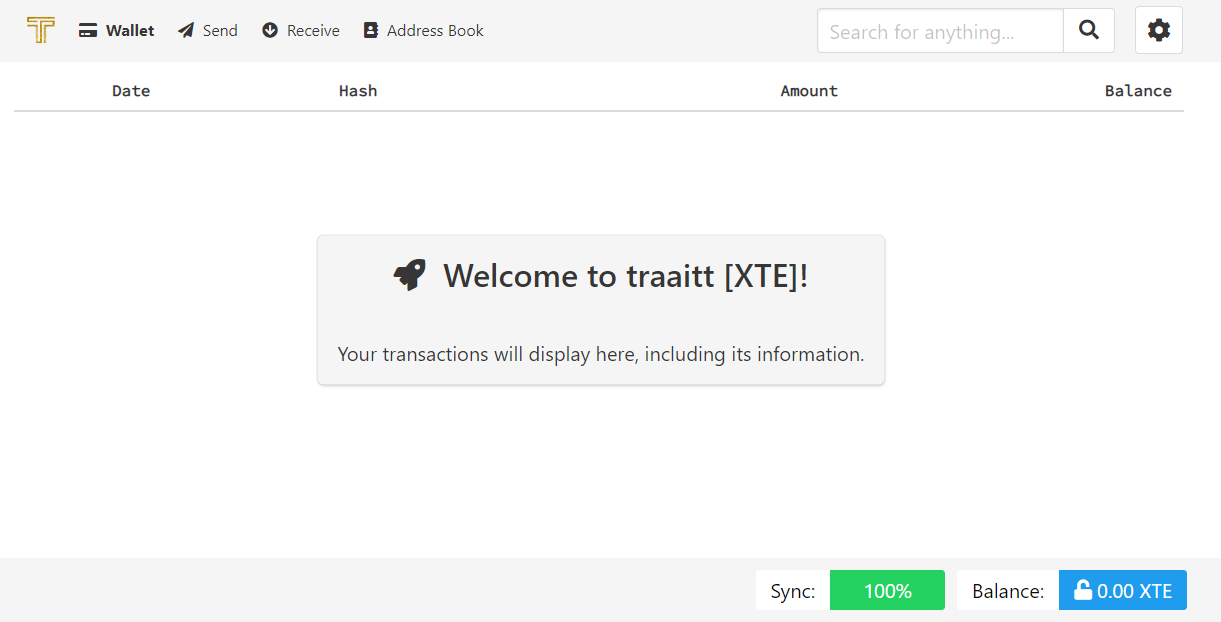
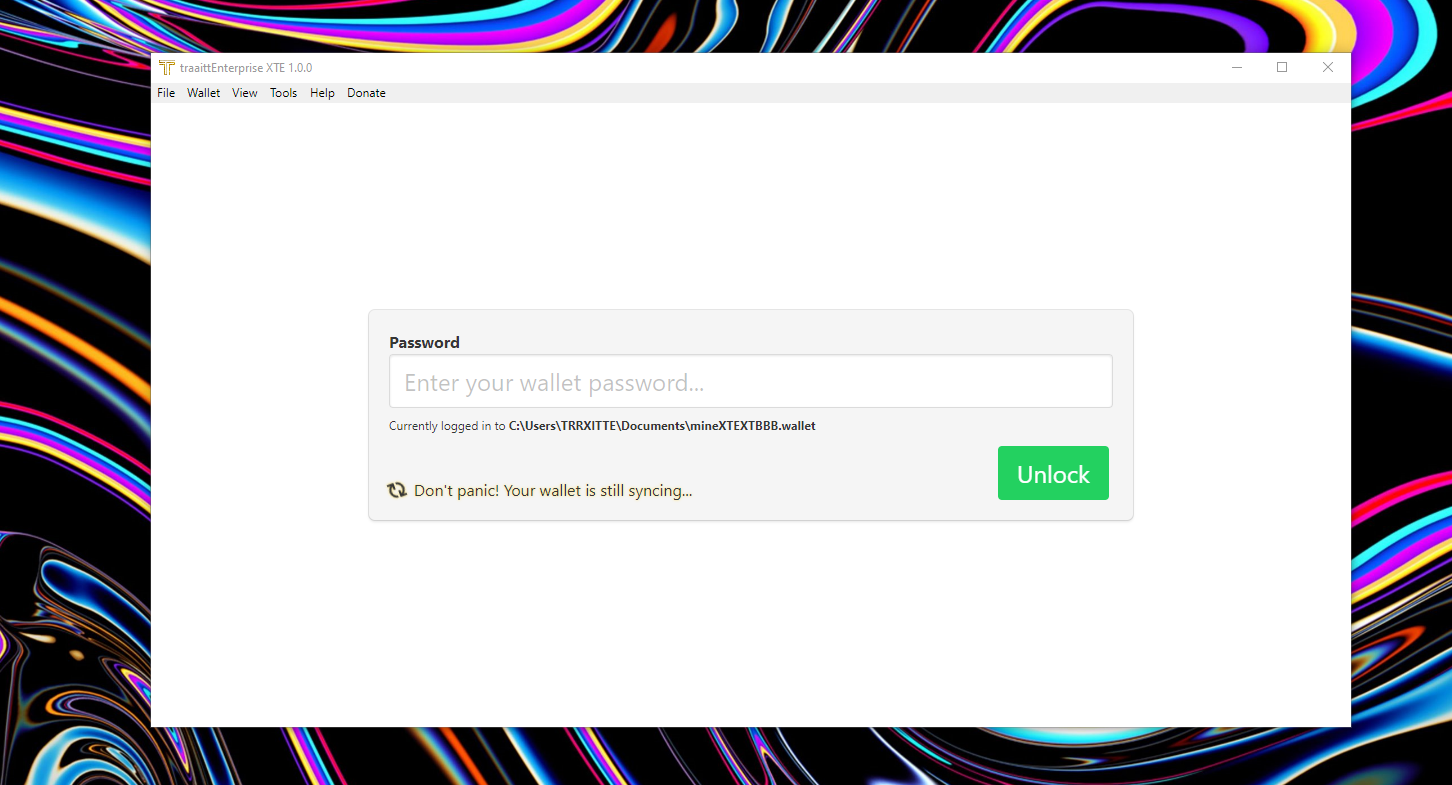
Upon opening the Wallet for the first time, you will see this splash screen:

You have the following options, and clicking each button will take you to the corresponding utility in the wallet. Click on the link to jump to right section of this guide depending on what you'd like to do.
Once you've created a wallet through one of these options, it will automatically open in the future, so you can always open your wallet up with one click when you need to send money.
Creating a Wallet
- Click on
Filein the top left and thenNew(or pressCtrl + Non your keyboard) - Choose a directory and a name to save the wallet.
Once your wallet is created, you can navigate to Wallet > Password in the top menu to set a password if desired. You're now all set to start receiving and sending funds with our services!
Opening a Wallet
- Click on
Filein the top left and thenOpen(Or pressCtrl + Oon your keyboard) - Navigate to the directory where your wallet is saved and double click on the file to open it.
Your wallet is now open and you're ready to start using it! Please note that traaitt XT Enterprise wallet utilizes the new and improved wallet file format and is not compatible with other GUI wallet files. If you have a previous wallet file, follow the next section of the guide to import your keys or seed into it.
Restoring a Wallet from Seed or Keys
- Click on
Filein the top left. - Click
Restore.
You'll be presented with a dialog box asking if you'd like to restore from private keys or seed. Depending on what option you take, follow the appropriate guide below:
Private Spend and View Keys
- Enter your private spend key
- Enter your private view key
- (Optional) Enter the block height your wallet was created on to start scanning for transactions. This can greatly speed up the process depending on how recent your wallet is.
If you don't know what height to start scanning from, that's OK, just leave this field blank and it will scan from 0.
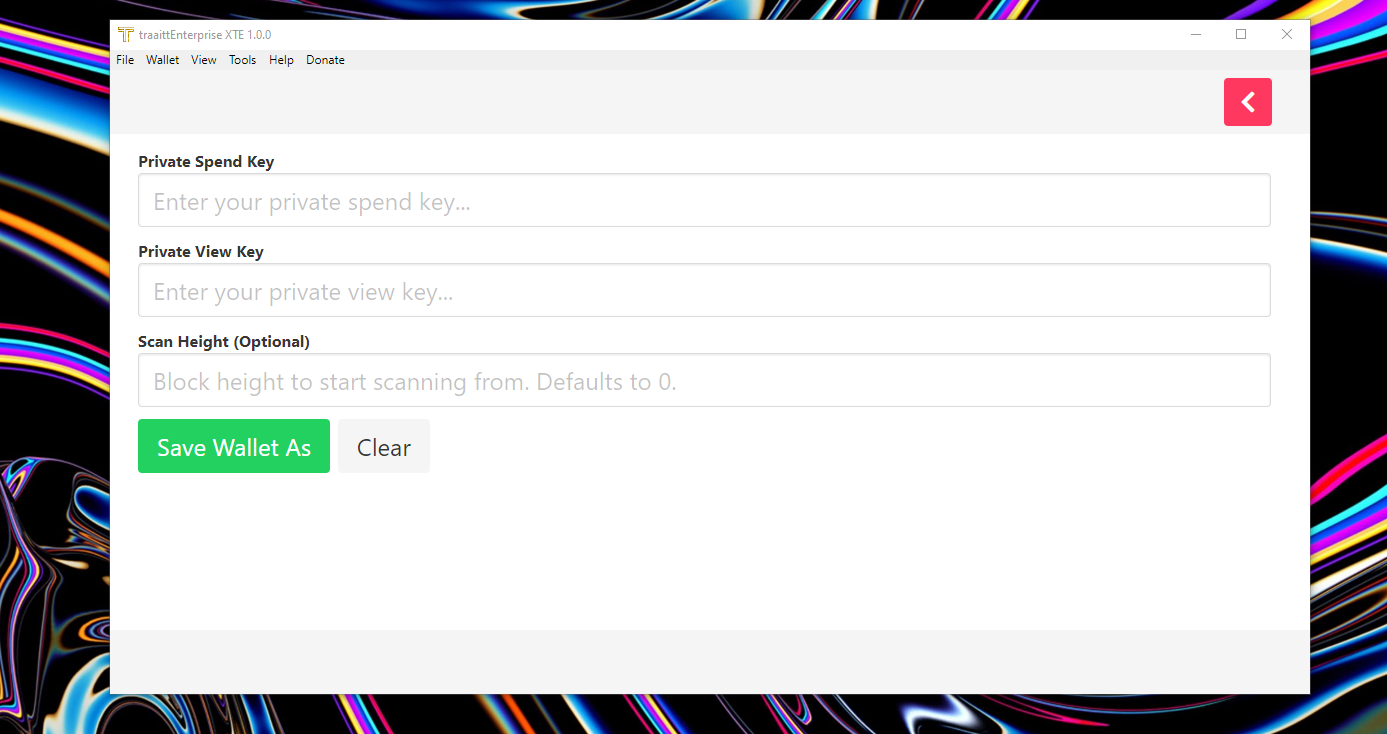
- Click
Import. - Choose a directory and a name to save the wallet.
- If the wallet was restored succesfully, it will open and sync!
After this, your wallet will automatically open. Add a password if desired by navigating to Wallet > Password in the top menu. You've now finished importing your wallet into traaittPlatform Enterprise and are ready to start using it!
25 Word Mnemonic Seed
- Enter your mnemonic seed
- (Optional) Enter the block height your wallet was created on to start scanning for transactions. This can greatly speed up the process depending on how recent your wallet is.
If you don't know what height to start scanning from, that's OK, just leave this field blank and it will scan from 0.
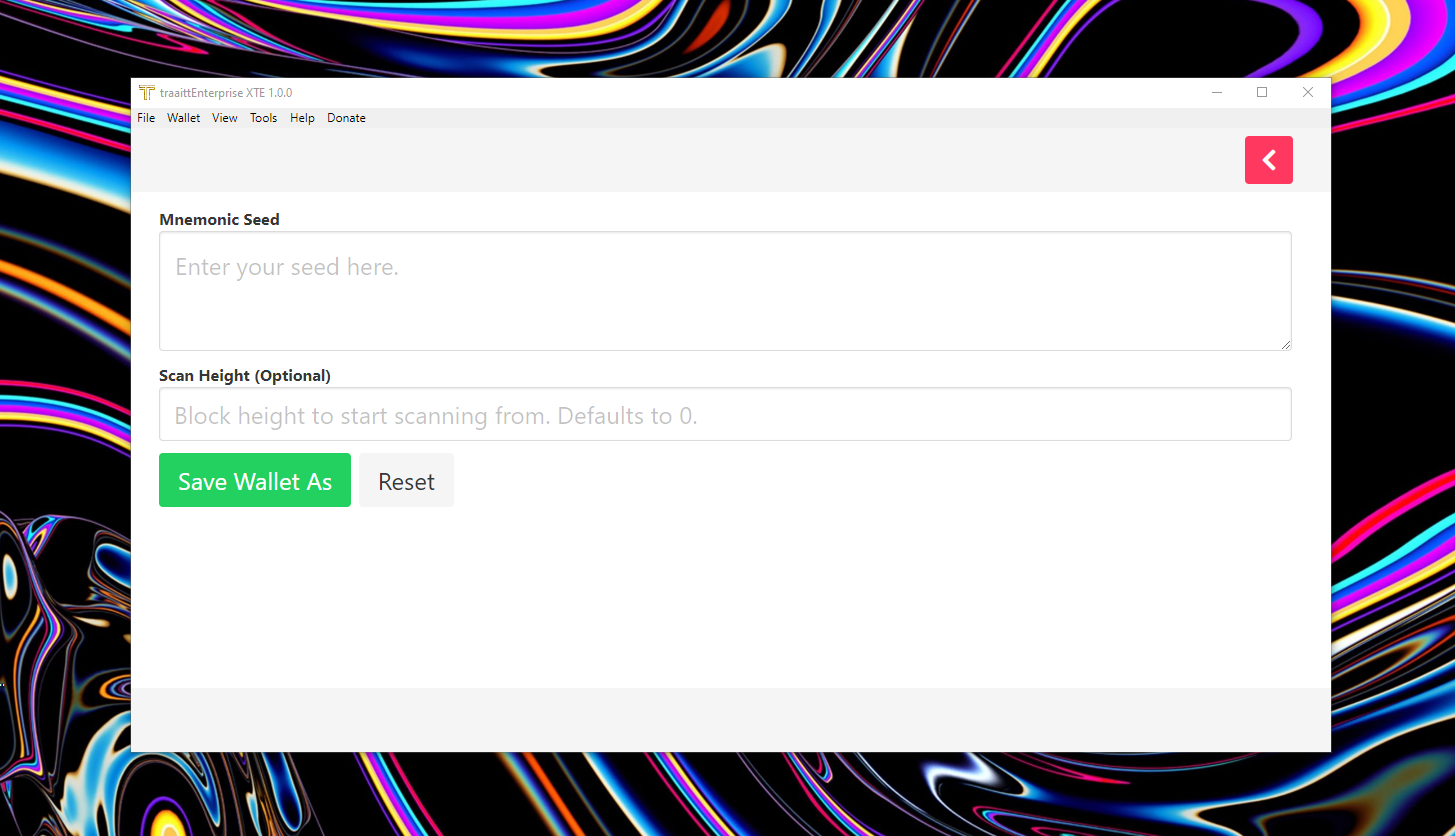
- Click
Import. - Choose a directory and a name to save the wallet
It now has been added and should sync Add a password if desired by navigating to Wallet > Password in the top menu. You've now finished importing your wallet into traaittPlatformEnterprise and are ready to start using it!
IMPORTANT: Make Sure Your Funds are Safe
Each TRRXITTE International wallet is essentially just a pair of keys (the view key and spend key) from which the public address is derived. It is very important to export these keys and back them up somewhere that is safe and secure (meaning somewhere reliable/permanent that no one else can access).
In the event of a lost or corrupted wallet file, computer crash, etc., the view key, spend key, or mnemonic seed are the only way to restore a wallet and recover the funds it holds.
DO NOT SHARE IT WITH ANYONE. Anyone who has these can access your funds and has complete control over your wallet.
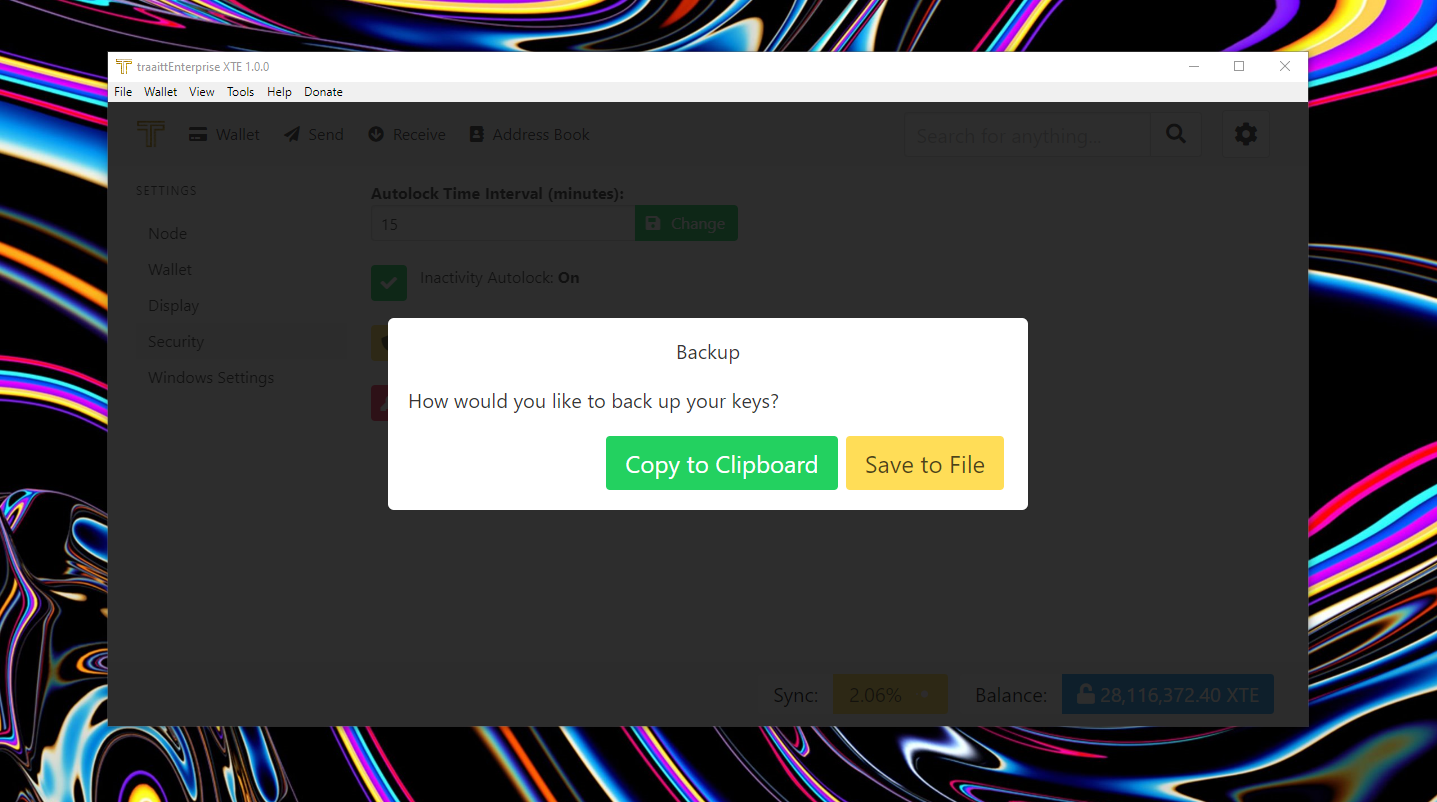
Click on Wallet in the top left, and then Backup. A screen will appear with your address, private spend and view keys, and your mnemonic seed.
Copy the text and store it safely and securely. One good way is to print them out on paper and keep them somewhere safe.
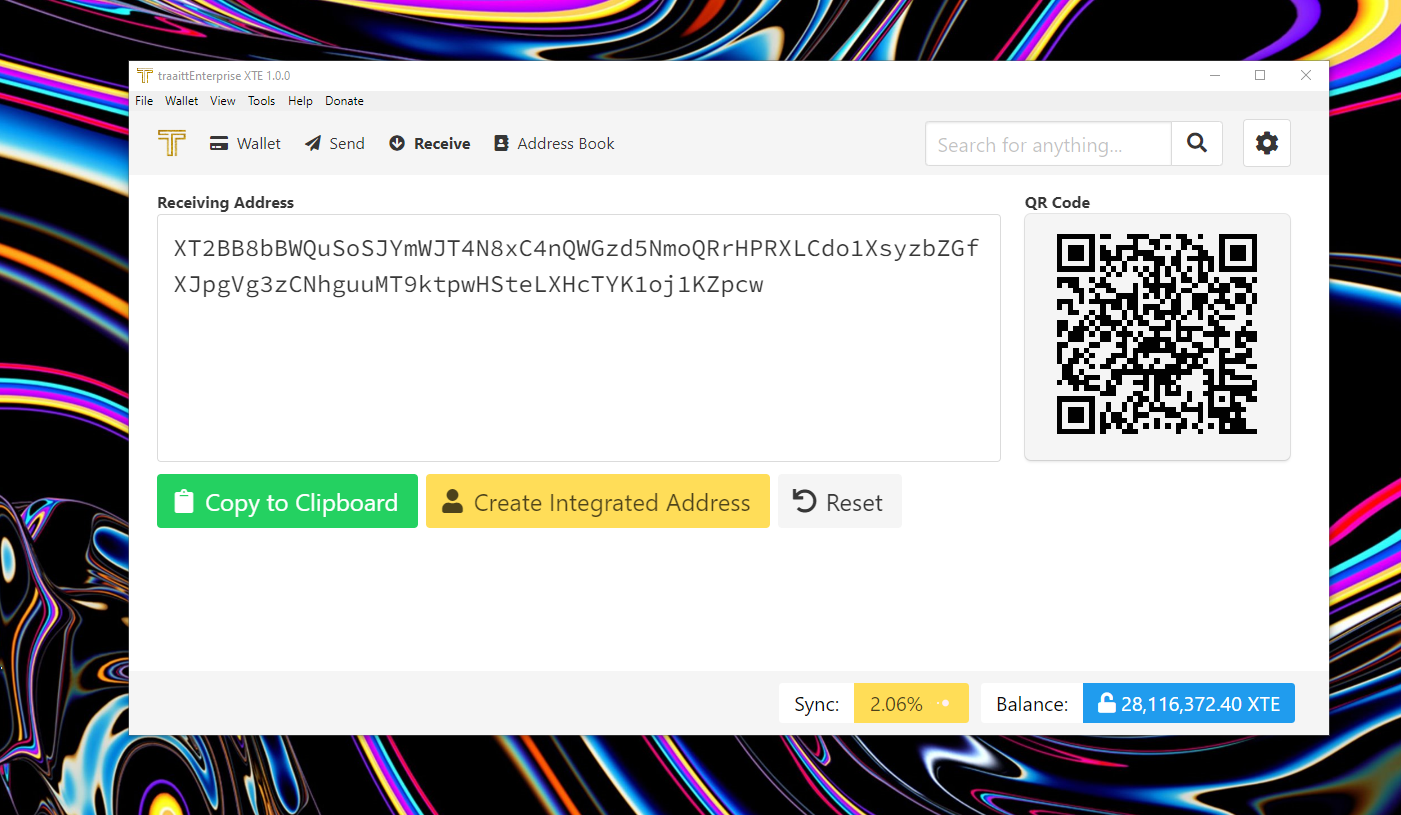
Viewing Wallet Address
- Click on Receive in the top left
- Your TurtleCoin™ wallet address and a QR code will be displayed. Click on the
Copy to Clipboardbutton to copy your address directly.
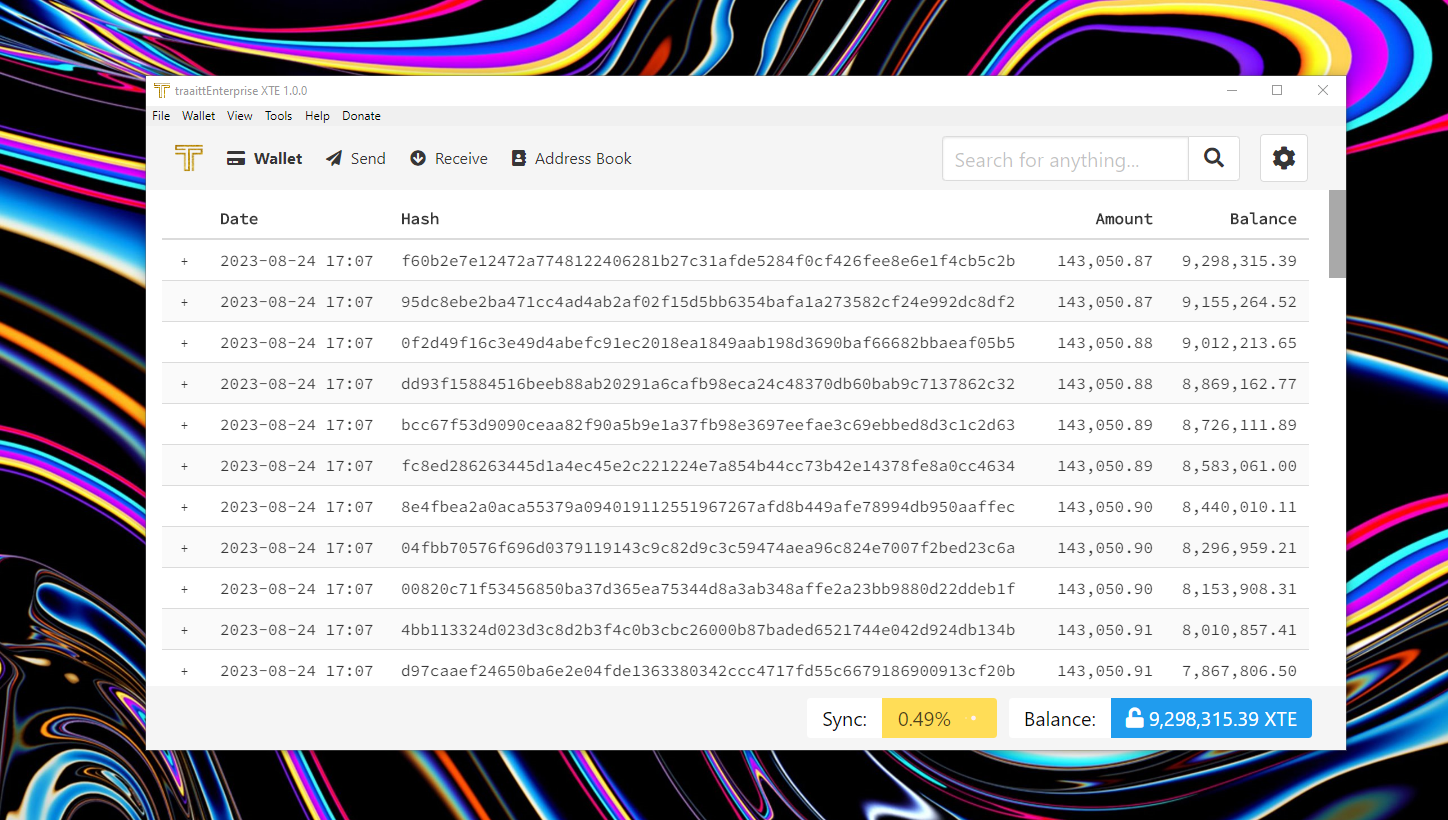
Viewing Wallet Balance
You can see your wallet balance at the bottom of the screen in the main Wallet screen. You can also see a historical balance, similar to how a checkbook or bank account functions, on the right-most column of the transaction table.
Sending Transactions
To send assets™:
- Click on the
Sendtab - Type/paste the address you want to send the TRTL to
- Type the amount you want to send (like
0.1). Note that the total amount with fees will be displayed for you automatically on the right side, including a network fee of 0.000000010 ETRX and a node fee if you're connected to a node with a fee. - Enter the payment ID if the recipient has provided one, or if you require one for your own purposes. Check the payment ID section if you're not sure how/when to use it.
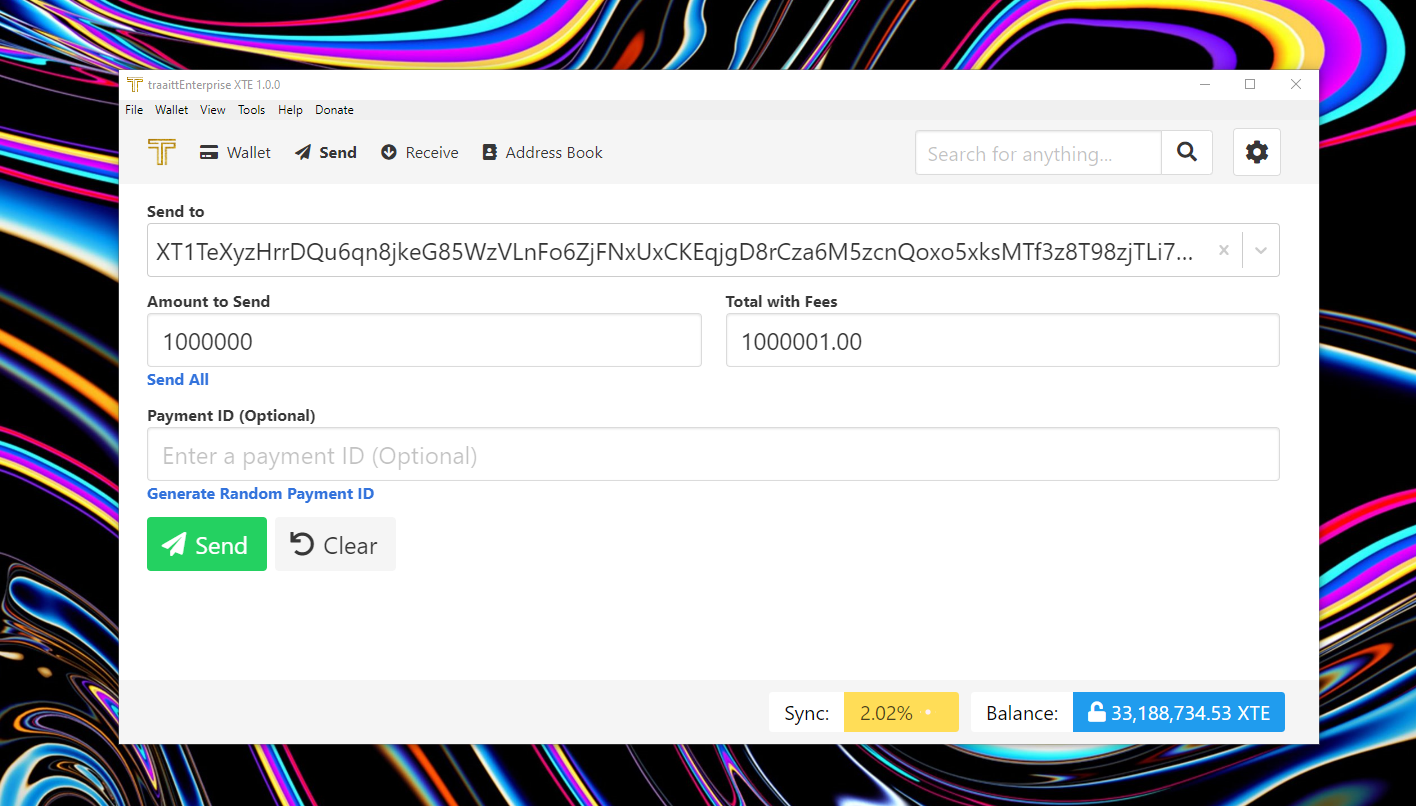
- Click on
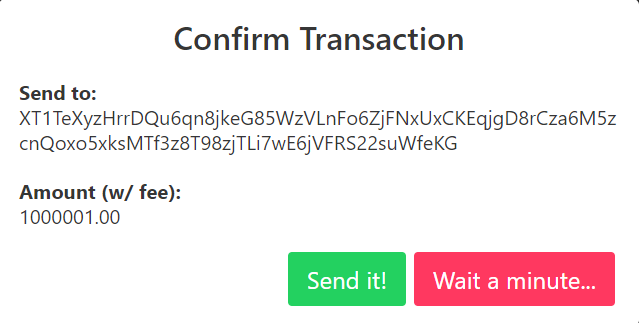
Send - Confirm details and click
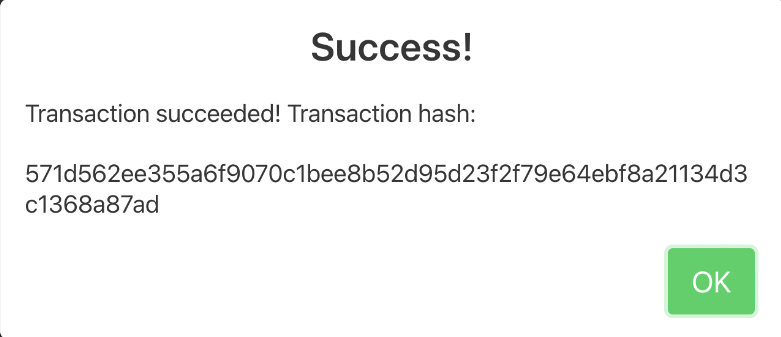
OKif you're alright with the transaction. Otherwise, clickCancelor pressescon your keyboard.
- If the transaction is successful, you will be given a confirmation message:
Payment IDs and How to Use Them
Because transactions on the TurtleCoin™ blockchain are privatized, in some situations a payment ID is necessary for the recipient to be able to determine where the payment came from, for instance when depositing to an exchange or other service.
If you're depositing to an exchange, be sure to include a payment ID if requested otherwise your funds may be lost!
To send a transaction with a payment ID, simply enter it in the send screen.
Note that typically, the service/recipient will generate and provide the required payment ID. In this case,you should not generate your own using the Generate Random Payment ID link below the field.
Exiting the Wallet
You can safely exit the wallet in any of these methods:
- Press the X button at the top right corner
- Click on
Filein the top left, then selectClose - Press
Ctrl + Won your keyboard
Getting Help
If you need any assistance, message us on the available channels at https://TRRXITTE.com
Troubleshooting and Reporting Bugs
As much effort as possible is made to ensure traaittEnterprise is free of bugs and works as intended. Alas, I am only one man and sometimes things can slip through unnoticed. If you'd like to report a bug, it is important to get log output of the bug occurring, that way I and the upstream developers can more easily figure out what is going on. You can either report the issue through GitHub or you may ping me @ExtraHash in the TurtleCoin discord server. Without further ado, here are instructions on how to get a log file:
How To Get A Log File and Send It To The Developers
- Start the Wallet as you normally do. You should be greeted by the login screen.
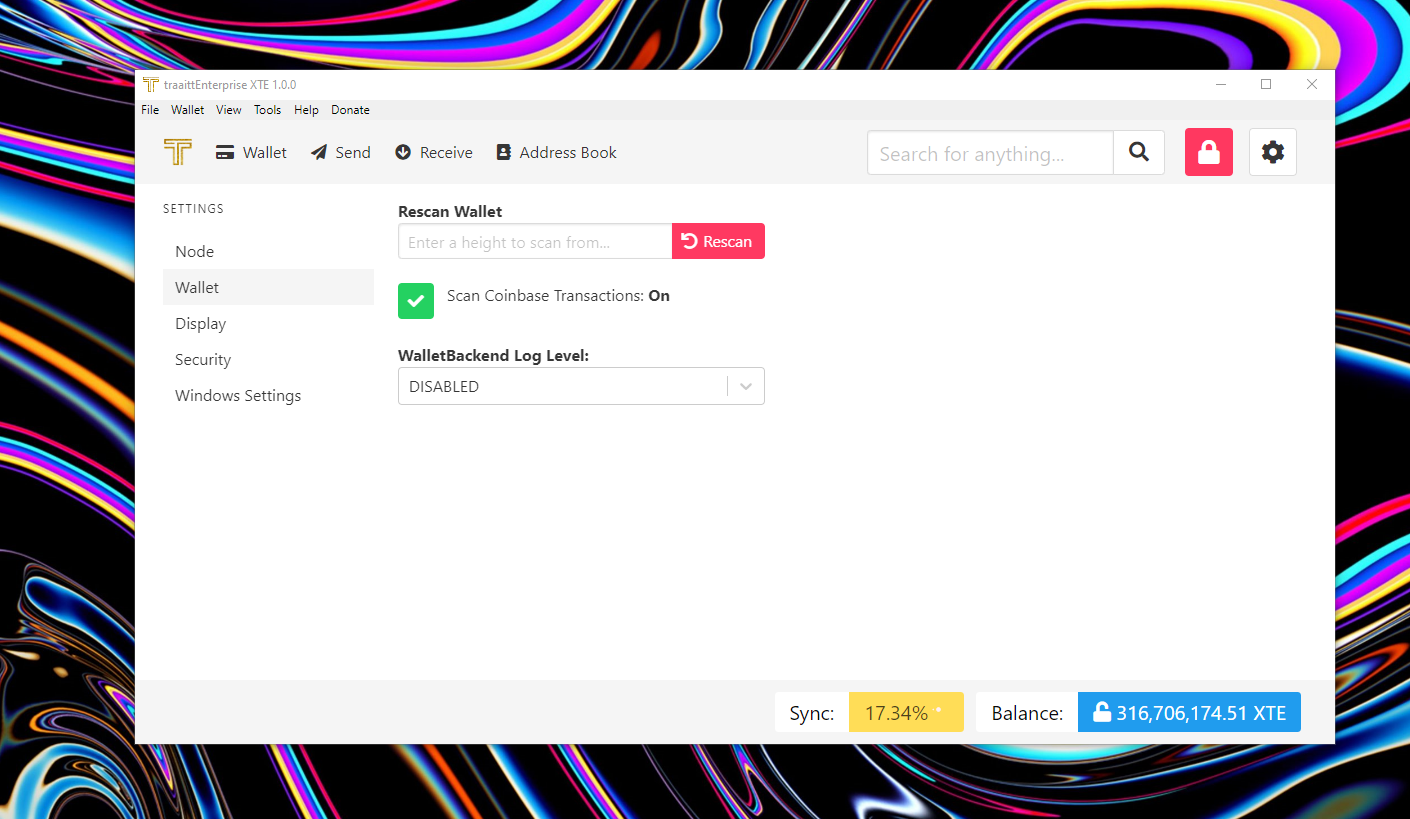
- Log in to the wallet. Your wallet transaction history should display. Press the settings cog button on the top right.
- The settings page should be displayed. On the left menu, click the "Wallet" tab to go to the wallet settings.
- Click the drop down labelled "WalletBackend Log Level". Select DEBUG as the option. This is usually sufficient, the developers may ask you to repeat this process with TRACE selected.
- Click the "Show Console" button, located directly under the log level dropdown. A new window will open up. Click "Console" on the top of that new window.
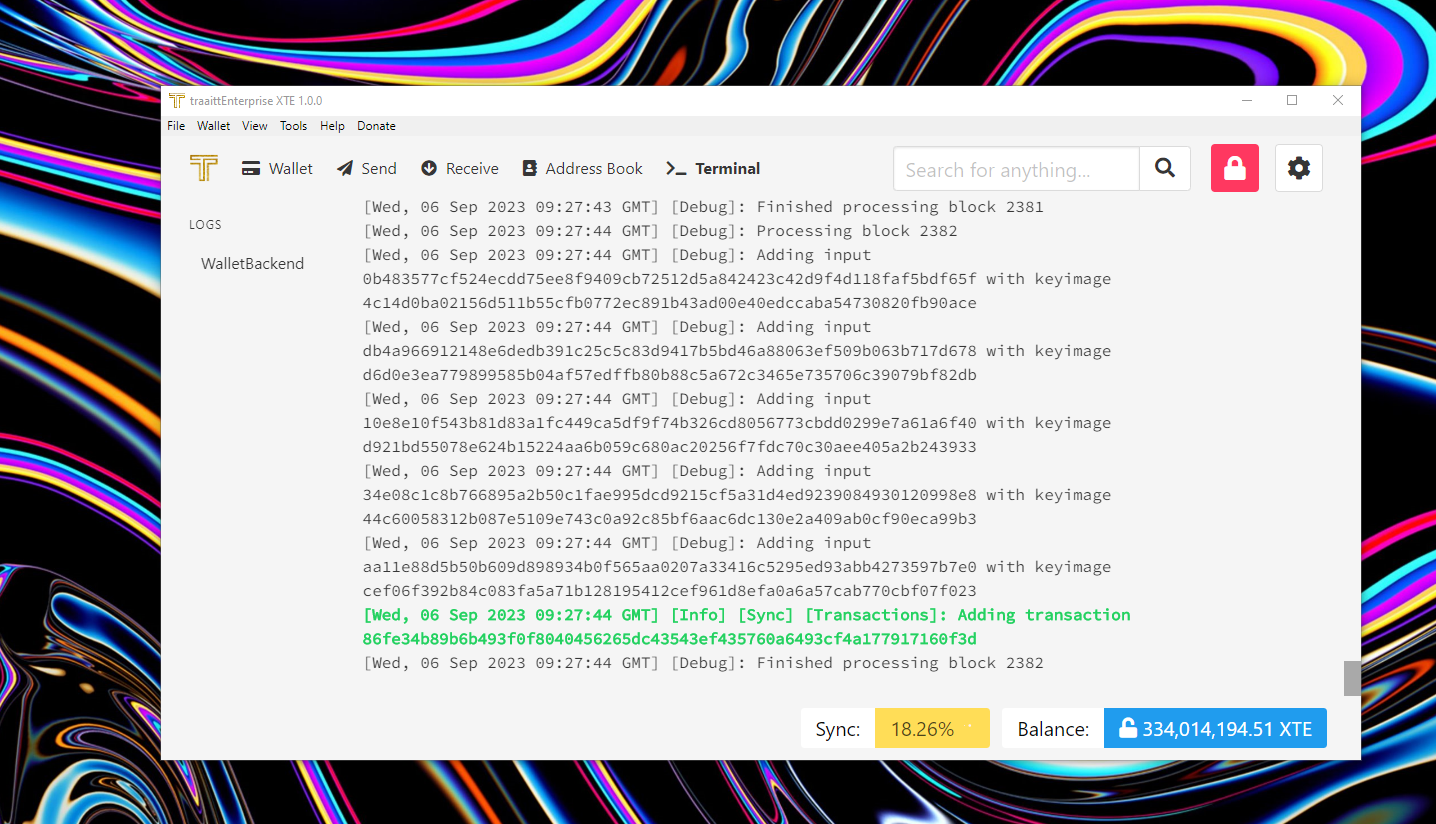
IMPORTANT: Go back to the wallet. Reproduce whatever bug you're trying to report. If it's a transaction bug, make a transaction, if it's a syncing bug, allow it to attempt to sync for a period of time, etc.
Back in the console window, right click the text you should see scrolling by and select "Save as." Save the log file somewhere on your computer that you know how to access (i.e., your desktop). Drag and drop the log file into the GitHub text box or in one of our communitys with your bug report.
That's it! You've successfully saved a log file and helped your developer solve your problem. The developer will review the log file and attempt to make any necessary fixes.